

I got hooked on open educational resources the same way a lot of self-learners do: I needed to learn something real, I had more curiosity than money, and I found my way through free textbooks one chapter at a time. Years later, that same approach works beautifully for homeschool unit studies.
The trick is simple: pick one strong textbook chapter as your spine (the core that keeps your unit grounded), then build outward with projects, library books, experiments, writing, and discussion. You do not need an expensive boxed curriculum to get a cohesive, multi-subject unit. You need a clear theme, a chapter that explains it well, and a plan for turning knowledge into doing.

What a textbook spine does
Unit studies can become a pile of fun activities with no through-line. A good spine fixes that. One chapter (or a short run of chapters) gives you:
- Sequence: concepts unfold in a logical order.
- Vocabulary: key terms appear repeatedly, which helps retention.
- Built-in checks: review questions, examples, and summaries.
- Scope control: you can say, “We are doing sections 1 to 3,” and stop there.
I like to think of the spine as the map, and everything else as the scenery you explore along the way.
Step 1: Pick a strong theme
The easiest themes are naturally interdisciplinary. A few that consistently work across age levels:
- Water: states of matter, weather, rivers, conservation, measurement, poetry.
- The human body: systems, nutrition, biography, health, data charts.
- Ancient civilizations: geography, primary sources, art, engineering, trade.
- Plants: ecology, lab observation, descriptive writing, classification.
- Communication: media, persuasion, speeches, visual design, basic logic.
If you are new to unit studies, choose a theme that your kids already care about. Motivation is your hidden curriculum.
Step 2: Choose a chapter fast
You are not adopting a full-length textbook. You are selecting one chapter to anchor a focused stretch of learning. Many families find that a single chapter can carry roughly 2 to 6 weeks, depending on age, pace, and how project-heavy you go.
I use a quick “chapter audition” before committing:
- Clarity test: does the first page define terms without jargon?
- Example test: does it show real examples, not just definitions?
- Activity test: are there review questions, prompts, or problems to do?
- Age-flex test: can you simplify for younger kids and extend for older kids?
If you want a deeper checklist for judging quality, I wrote up a full evaluation guide here: How to Evaluate a Free Online Textbook.
A quick note on “free” vs open
Not every free-to-read textbook is truly “open” in the licensing sense. Before you print, copy, or share chapters, check the usage terms on the source. Some resources are openly licensed (often labeled OER), which usually allows printing and reuse with attribution. Others are free to view but restrict downloading, copying, or redistribution.
If you want the bigger picture on what counts as OER and why it matters, start here: OER (Open Educational Resources).
Good spine starting points on this site
When I say “good starting points,” I mean pages that tend to lead you to textbooks with clear headings, a logical progression, and some form of review questions or summaries you can teach from.
- History units: start with American History or World History.
- Science units: try Biology, Environmental Biology, or General Chemistry for older students.
- Health and human body units: Anatomy and Physiology and Understanding Nutrition.
- Social science units: Introduction to Sociology or Introduction to Philosophy for discussion-rich weeks.
- Math support inside units: use targeted chapters from Elementary Statistics when you want to add graphs, surveys, and data.
If you want a broad overview of finding and using open resources, the jumping-off point is Guide to Free Textbooks.
Step 3: Build the unit plan
Once you have your chapter, build a simple “unit grid.” I keep it lightweight: one column for the core reading, then layers for reading, writing, math, science, and a hands-on project.
The layering method
- Core reading: assign a small section (often 2 to 6 pages) per session.
- Notebooking: 5 to 10 sentences, a sketch, or a labeled model.
- Library or public domain reading: biographies, historical fiction, field guides.
- Writing: one weekly piece that matches the unit (report, persuasive letter, lab write-up).
- Math connection: measurement, graphs, ratios, budgets, timelines.
- Project: one anchor project plus small “micro-builds” along the way.
This is also where digital tools help. If your kids are reading on screens, strong notes matter. My best tactics are here: Digital Textbook Note-Taking That Actually Sticks.
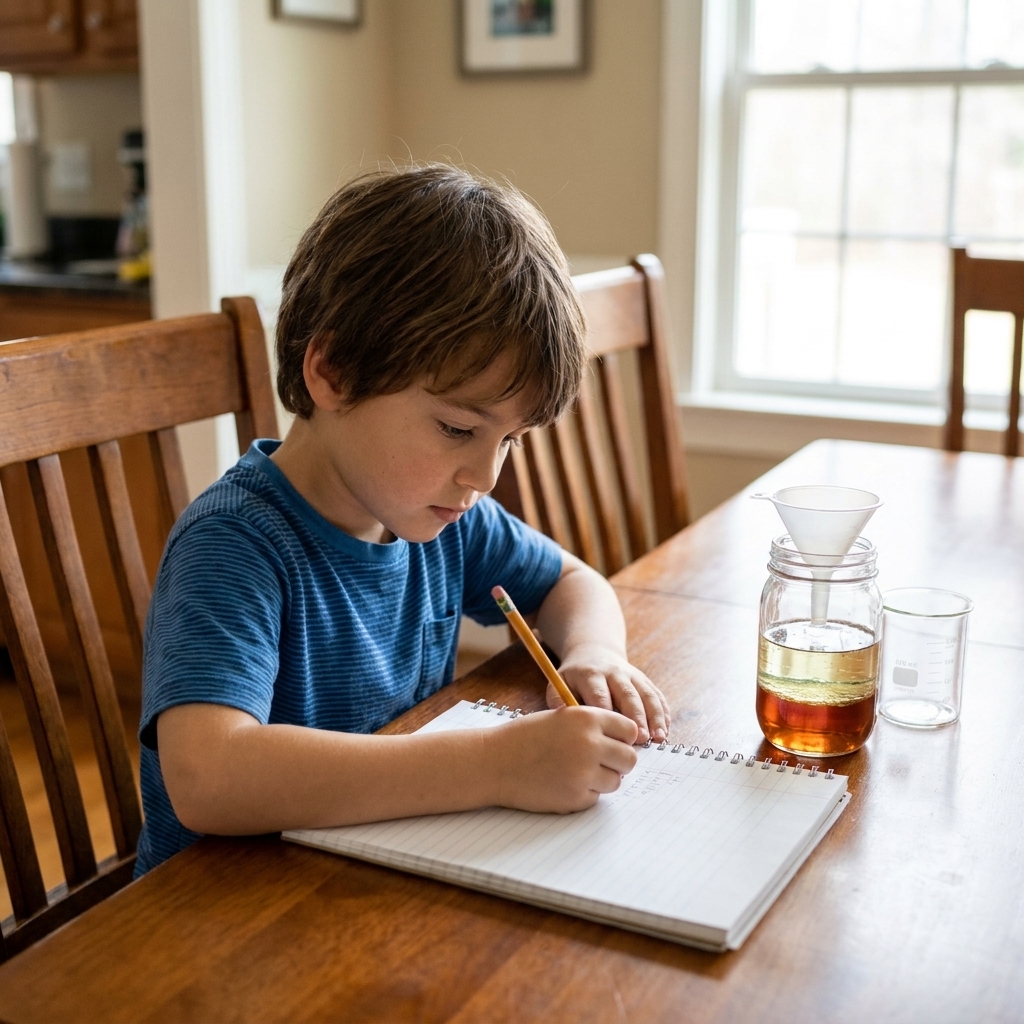
Three unit examples
Below are models you can copy. Swap the chapter, keep the structure.
Unit 1: Backyard ecosystems
Spine: a chapter on ecosystems, energy flow, or food webs from an environmental science or biology text. Start at Environmental Biology or Biology Textbook Online.
- Science: a 15-minute daily “sit spot” (pick one place to observe each day). Track species, weather, and changes.
- Writing: one field journal entry per day, then a polished “mini field guide page” each week.
- Math: make a simple data table and graph sightings (a bar chart is enough). For older students, add a basic stats extension from Elementary Statistics.
- Art: sketch leaves, insects, or fungi. Focus on shape and detail, not perfection.
- Project: build a shoebox habitat model or create a backyard food web poster using drawings and arrows.
Unit 2: How governments work
Spine: a government-focused chapter inside a history text. Start at American History Textbook or World History Textbook Online and choose one era where political systems shift.
- History: timeline of key events from the chapter, 8 to 12 entries total for the whole unit.
- Writing: weekly summary, then a final compare-and-contrast essay (two governments, two leaders, or two time periods).
- Speaking: hold a short family “council meeting” where kids present a proposal and defend it with reasons.
- Geography: map the region and identify why location matters (trade routes, rivers, borders).
- Project: create a simple household charter with agreed rules and consequences.
Unit 3: Human body systems
Spine: a chapter on a single body system (digestive, respiratory, circulatory) from Anatomy and Physiology.
- Science: learn the main organs, function, and feedback loops. Keep it to one system per unit.
- Writing: explanatory paragraph (“How the system works”) plus a vocabulary page.
- Health: connect to daily habits (sleep, hydration, exercise). Keep it factual and age-appropriate.
- Math: track a simple metric for a week (water intake, step count, or pulse before and after activity).
- Project: build a labeled clay model, or do a kitchen-table demonstration (for example, modeling lungs with a balloon and bottle) with a written explanation of what it represents.
Step 4: Set a weekly rhythm
Unit studies feel fun until they sprawl. What keeps them sustainable is a repeating weekly rhythm. Here is a pattern that works for many families:
- Monday: introduce the week, read a core section, define 5 to 8 key terms.
- Tuesday: hands-on activity or observation, short notebooking.
- Wednesday: read a core section, discussion, start writing assignment.
- Thursday: math connection or data day, finish writing draft.
- Friday: present something, build something, or do a wrap-up quiz and reflection.
If your kids hit the wall with dense reading, I lean on structured reading tactics like SQ3R. I broke it down here: SQ3R for Dense Textbook Chapters.
How to adapt for ages
This is the superpower of using chapters instead of full programs. You can keep everyone on the same theme, but vary the output.
Younger learners (K to 3)
- Read aloud in tiny chunks, then translate into plain language.
- Focus on narration: “Tell me what you remember.”
- Use pictures, models, and nature walks as the main learning mode.
Upper elementary and middle school
- Assign short sections to read independently.
- Require 5 vocabulary words per week with kid-friendly definitions.
- Add one “show your thinking” page: timeline, flowchart, or cause-and-effect list.
High school
- Increase primary source reading, labs, or problem sets tied to the chapter.
- Expect citations (even informal) and more precise terminology.
- End with a product: research paper, lab report, debate, or presentation.
How you will know it worked
You do not need a fancy test to see real learning. Pick one simple end-of-unit “proof” per child:
- Explain it: a 3 to 5 minute oral recap (or a short recorded voice note).
- Show it: a labeled diagram, timeline, model, or one-page infographic.
- Write it: a summary paragraph (youngers) or a short essay or lab report (olders).
- Do it: a demonstration, debate, or problem set based on the chapter’s review questions.
If you want a super-light rubric, I ask three questions: What did you learn? What evidence do you have? What would you teach to someone younger?
Practical tips for screens
Free digital textbooks are flexible, but you still want them usable in real life.
- Printing: print only what you will actively mark up. A 6-page section printed and highlighted beats a 200-page printout that never gets touched.
- Offline access: if the book allows offline viewing, save the chapter ahead of time for travel days or spotty internet.
- Device fit: tablets can help. Phones can work in a pinch if you keep sections short, use larger text when possible, and take notes on paper. If a PDF is miserable on a small screen, that is not a character flaw. Switch devices or print.
If you are choosing devices specifically for e-textbooks, you might like: Are Some Tablets Better Than Others for eTextbooks?

Safety and common sense
Most unit study projects are low-risk, but a quick safety baseline helps. For experiments, use adult supervision, keep materials age-appropriate, and skip anything involving heat, sharp tools, chemicals, or food allergens unless you are confident and prepared.
For health topics, use textbooks for general education, not diagnosis or medical advice. If a question turns personal, it is fine to pause the lesson and talk with a professional you trust.
Common pitfalls
Pitfall: the unit turns into a rabbit hole
Fix: decide your stopping point up front. One chapter, one project, one final writing piece.
Pitfall: the reading feels too advanced
Fix: use the chapter for you, then teach it back in simpler language. Or use only headings and the chapter summary, then build activities from those.
Pitfall: lots of reading, not enough doing
Fix: for every reading session, attach a concrete output: a sketch, three bullet points, a demonstration, or one problem solved.
Pitfall: everyone is busy but nobody can explain it
Fix: end each week with a five-minute oral recap. If they can explain it, they own it.
Reusable checklist
- I chose one theme and one spine chapter.
- I pre-read the chapter and circled the 5 to 10 ideas that matter most.
- I checked the license or usage terms for printing and sharing.
- I planned one weekly writing assignment tied to the theme.
- I added one math or data connection, even if it is basic.
- I picked one anchor project and set a clear finish date.
- I built a weekly rhythm so we are not reinventing the schedule every day.
- I chose one end-of-unit “proof” (explain, show, write, or do).
If you want more homeschool-specific navigation, start here: Homeschool Guide.
Start small
If you are staring at this thinking, “This sounds great, but I do not have time to design a whole unit,” start with the smallest version. Pick one chapter section, plan one hands-on activity, and end the week with a two-minute explanation from your kid. That is a unit study in miniature, and it is usually enough to build momentum for the next one.