

When I taught myself web development from free materials, the big unlock was simple: I stopped reading like I was studying for a trivia contest and started building things. Science works the same way. A solid free textbook gives you the concepts and the vocabulary, but a lab kit gives you the why-this-matters feeling that makes the knowledge stick.
This is how I pair free, open-access science textbooks with affordable at-home lab kits in a homeschool setting, without turning your kitchen into a hazardous mess or your budget into a science fair volcano.
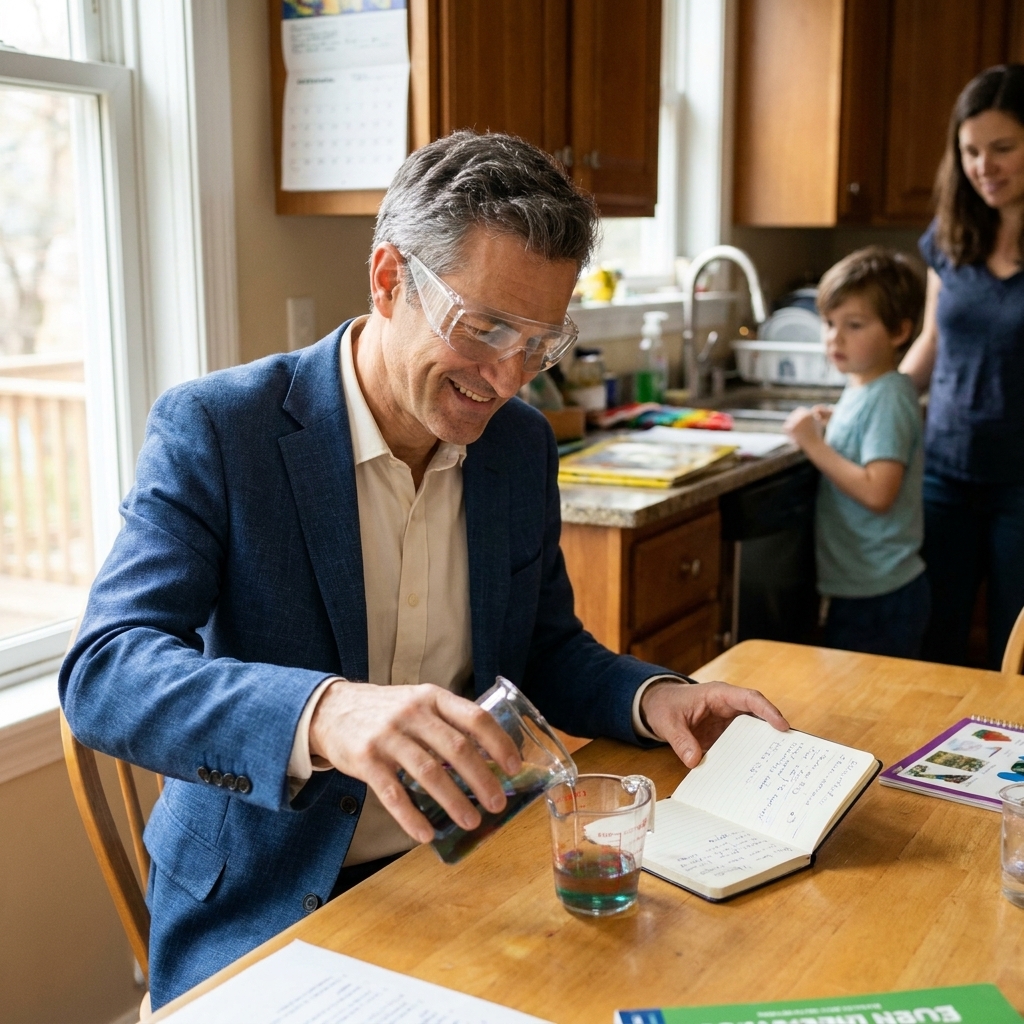
Start with the textbook, not the kit
Most people do this backwards. They buy a “cool” kit, do three flashy experiments, then realize it does not match anything they are teaching.
Instead, pick your free science text first, then use it to define what your lab kit must cover.
- Pick one spine text per subject (biology, chemistry, physics, earth science). If you are building a broader homeschool plan, my go-to approach is described in Build a self-taught curriculum with free open textbooks.
- Skim the table of contents and highlight units that naturally want hands-on work: measurement, density, acids and bases, forces, cells, ecosystems, energy, circuits.
- Decide your lab frequency (weekly, every other week, or unit-based). Weekly is easiest for momentum.
If you are still deciding whether a free text is trustworthy or just “free,” use my evaluation checklist from How to evaluate a free online textbook.
Match kits to goals
At-home lab kits usually fall into a few categories. Knowing which one you are buying prevents disappointment.
1) Survey kits
These are mixed-topic kits (a little chemistry, a little physics, etc.). They are great for elementary and middle school, or for families who want variety.
- Best for: curiosity-driven learning, younger students, building lab habits.
- Watch out for: shallow experiments that do not connect to your text’s chapter sequence.
2) Course-aligned kits
These are the gold standard for pairing with a textbook. They aim to cover a year of labs that match common scope-and-sequence expectations.
- Best for: consistent skill-building, high school transcripts, students who like structure.
- Watch out for: higher cost up front, plus replacement consumables.
3) Equipment-only kits
This style gives you durable tools (beakers, graduated cylinder, microscope slides, multimeter) but fewer guided experiments. I love these because you can reuse them across multiple years.
- Best for: families using open textbooks who want to design labs from chapters.
- Watch out for: you must source consumables and write your own lab prompts.
Quick kit picker
If you are staring at a dozen kits and your brain is melting, use this as a fast filter. It is not fancy, but it cuts decision fatigue.
- If you are doing biology: lean equipment-first. Prioritize a simple microscope, slides, and tools for observation and measurement.
- If you are doing chemistry: lean course-aligned or equipment-first with strong safety notes. Prioritize measurement tools, containers, and clear, step-by-step procedures.
- If you are doing physics: equipment-first usually wins. Prioritize a multimeter, basic circuits gear, a spring scale (optional), and lots of measuring.
- If you are doing “general science” (middle school): a survey kit can work well, as long as you force the notebook habit and connect each lab back to the current chapter.
Turn any chapter into a lab week
Here is the routine I recommend because it scales from middle school to high school and works with almost any free textbook. It also keeps you from reinventing your plan every week.
Step 1: Pull a testable claim
Look for statements that can be tested with a measurable outcome.
- “Density is mass divided by volume.”
- “Acids have a lower pH than bases.”
- “Friction often changes when you switch surface materials.”
- “In photosynthesis, light can increase oxygen production in plants.”
Step 2: Write one question
- “How does salt concentration change water density?”
- “Which household liquids are acidic?”
- “How does ramp angle change a car’s speed?”
Step 3: Use the smallest setup
If the kit suggests an elaborate version, start with the minimum that still teaches the concept. You can always extend later.
Step 4: Require a lab notebook page
This is where the textbook and the kit finally shake hands. Every lab entry should include:
- Question.
- Hypothesis.
- Materials.
- Procedure.
- Data table (even if it is tiny).
- Conclusion (with one sentence that uses vocabulary from the chapter).
If your student struggles to retain what they read, pairing labs with better note-taking helps a lot. I wrote about making digital notes actually stick here: Digital textbook note-taking that actually sticks.
Lab records for transcripts
If you are homeschooling through middle school, this is optional. If you are logging high school credit, it is worth being slightly more formal.
- Track lab time: write the date and minutes spent (setup, lab, cleanup, write-up).
- Use consistent lab titles: “Density of Saltwater,” “Acids and Bases Survey,” “Ramp Angle and Speed.”
- Grade with a simple rubric: 1 point for planning (question and hypothesis), 1 point for data (table or graph), 1 point for conclusion (uses vocabulary and matches the data).
This keeps your records clean without turning your homeschool into paperwork school.
Picking kits on a budget
You do not need a deluxe kit to do real science. You need a few core capabilities that unlock many experiments.
Pay for these basics
- Measurement tools: digital scale (0.1 g resolution is plenty for most middle school and basic high school labs), graduated cylinder, thermometer.
- Basic containers: beakers, test tubes, stirring rods (glass is great, sturdy plastic can be fine for many setups).
- Safety gear: goggles for the student and a spare pair for the adult.
- A simple microscope (even entry-level) if you are doing biology.
- Electrical basics: a breadboard, wires, batteries, and a multimeter if you are doing physics.
Swap in household items
- Indicators: red cabbage indicator can replace pH paper for introductory work.
- Solutes: table salt, sugar, baking soda, vinegar.
- Containers: clean jars with lids can stand in for specialty containers.
Avoid these traps
- Single-use wow kits that cannot be reused for later chapters.
- Kits with vague instructions that skip measurement and data, turning labs into crafts.
One important note: I do not offer a downloadable lab worksheet or PDF in this post. If you want structure, use the notebook checklist above as your repeatable “lab page” and keep it consistent from week to week.
Three easy pairings
These are my favorite textbook-to-hands-on bridges because they show up in almost every general science sequence.
1) Measurement and data
Textbook concept: precision, accuracy, variables, graphing.
Kit or household gear: scale, measuring spoons, thermometer, stopwatch.
Lab idea: measure how fast ice melts in shade vs sun, record temperature and time, graph results.
2) Chemistry basics
Textbook concept: mixtures, solutions, reactions, pH.
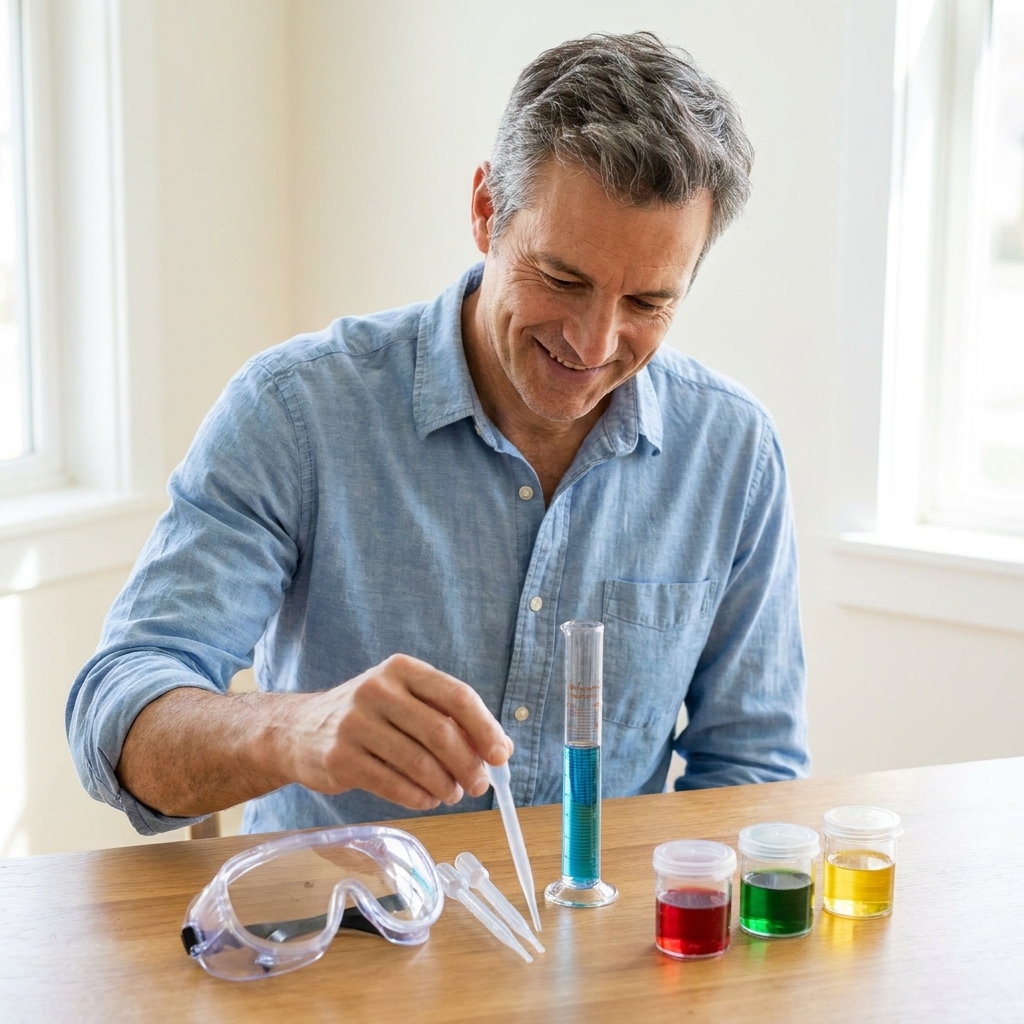
Kit gear: droppers, small beakers, pH paper or cabbage indicator, gloves.
Lab idea: classify household liquids as acidic or basic, then connect results to chapter definitions.
3) Forces and motion
Textbook concept: friction, gravity, energy, speed.
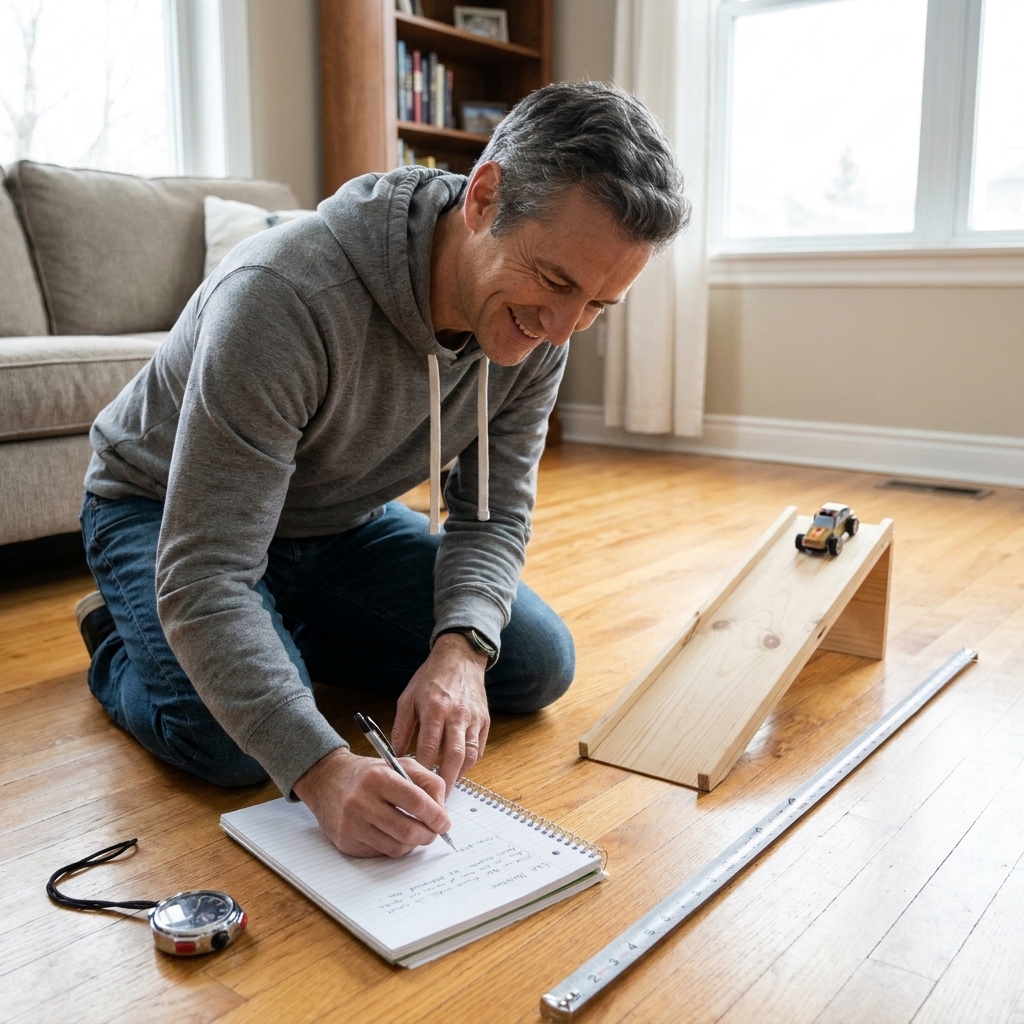
Kit gear: spring scale (optional), toy car, ramp, measuring tape.
Lab idea: compare how far the same car rolls on different surfaces (tile, carpet, cardboard), then test ramp height as a second variable if you want an extension.
Safety rules
I am not a fan of fear-based safety talk, but I am an even smaller fan of avoidable accidents. A few simple policies keep home labs calm and repeatable.
- Goggles are non-negotiable any time liquids are poured, powders are handled, or anything is heated.
- One experiment at a time on a clear surface. No snacks on the lab table.
- Label temporary containers with masking tape and a pen, especially if you are stepping away.
- Skip open flame unless you are experienced and supervising closely. Many heat demonstrations can be done with hot water instead.
- Stay in the low-risk lane unless your kit is designed for more. Avoid strong acids, strong bases, solvents, and any “mystery chemicals” in unmarked containers.
- Dispose responsibly and do not pour unknown mixtures down the drain. When in doubt, keep it simple, keep it diluted, and stick to home-appropriate materials.
A simple weekly rhythm
If you want this to actually happen, scheduling matters more than buying the perfect kit.
- Day 1: Read the chapter section and define vocabulary (10 to 20 minutes).
- Day 2: Work 3 to 5 practice questions, then write the lab question and hypothesis.
- Day 3: Do the lab (keep it short), record data.
- Day 4: Analyze results, write a conclusion that quotes one concept from the text.
- Day 5: Quick review and one extension question: “What would we change next time?”
When chapters feel dense, the reading strategy matters. My preferred approach for heavy sections is SQ3R for dense textbook chapters.
FAQ
Do I need a full lab kit?
You can absolutely piece it together, especially if you buy durable measurement tools first. Kits mainly save planning time and reduce missing-item frustration.
What if my free textbook has no lab manual?
Use the “testable claim” method above. Most chapters contain at least one measurable idea. Your goal is not to replicate a university lab. Your goal is to practice thinking scientifically.
How do I keep labs on track?
Require a notebook page every time and tie the conclusion back to one paragraph in the textbook. That single step keeps the lab aligned to learning.
Can younger siblings join?
Yes, if they have a job. Give them one role like timer, stirrer, or photographer. The lab stays focused, and they feel included.