

I started learning web development from free, public resources, and one surprise carried over when I later tackled math, biology, and physics: diagrams are where “I read it” turns into “I can use it.” A page of labels, arrows, and shapes can feel like a wall. The good news is that complex visuals are learnable if you study them like a system, not like a picture.
This guide is the method I use when I am staring down anatomy plates, reaction pathways, free body diagrams, circuit layouts, and dense graphs. The goal is not to “remember the drawing.” The goal is to build a mental model you can recreate, explain, and apply under test pressure.
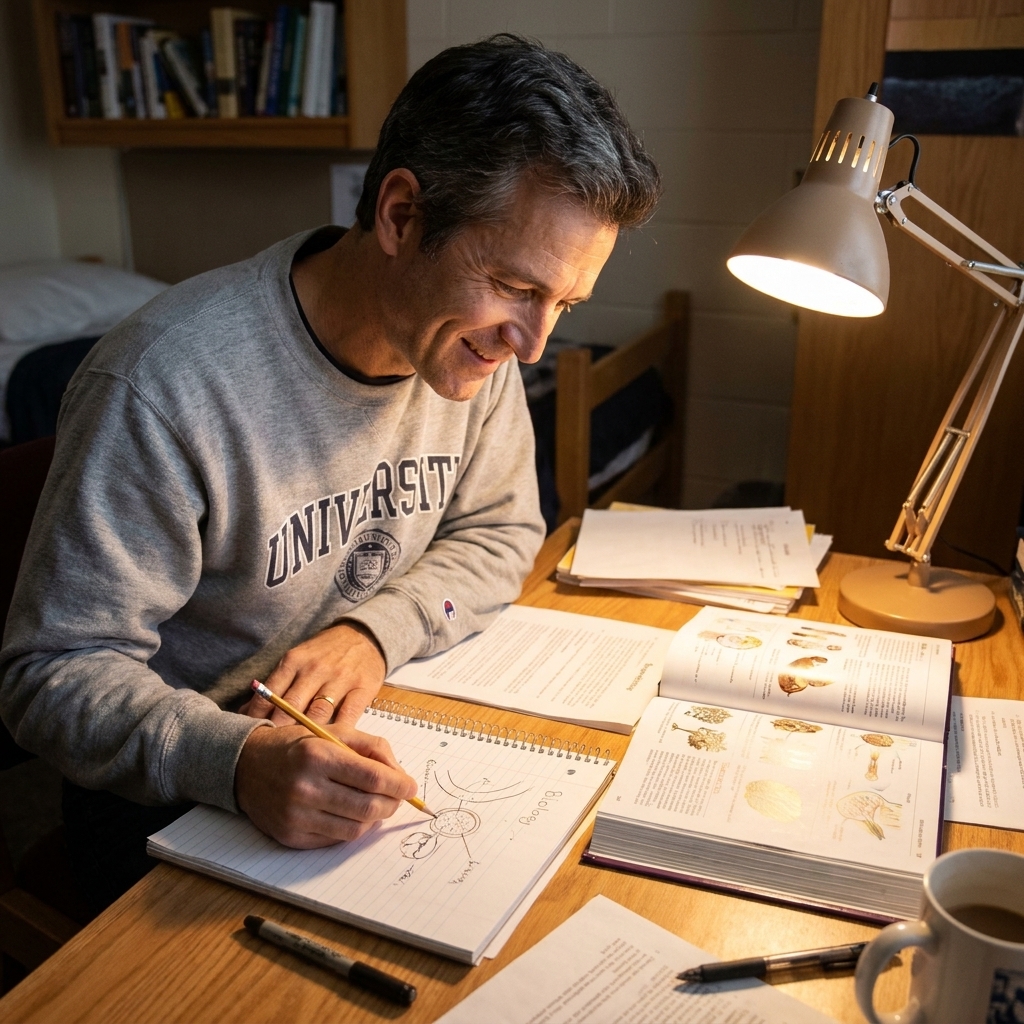
Why complex diagrams are hard to memorize
Most STEM diagrams overload working memory. They mix multiple kinds of information at once:
- Structure (what parts exist)
- Spatial relationships (where parts are relative to each other)
- Meaning (what each part does)
- Process (what changes over time)
- Conventions (symbols, color coding, scale, axes, line styles)
If you try to memorize everything in one pass, you get the classic outcome: it looks familiar while you are reading, then vanishes when you close the book. The fix is to separate the diagram into layers and practice retrieving each layer, not rereading it.
The 3-pass approach: map, model, test
Pass 1: Map what the diagram is saying
Before you memorize anything, force clarity. Ask and answer these five questions in plain language:
- What type of diagram is this? (graph, cross-section, pathway, circuit, geometric figure, etc.)
- What is the purpose? (classify, compare, show flow, show forces, show anatomy, show proof idea)
- What are the “units”? (parts, nodes, variables, organs, vectors)
- What are the relationships? (causes, constraints, adjacency, direction, proportionality)
- What would a typical exam question ask me to do with it? (label, predict change, compute, interpret, troubleshoot)
Write 2 to 4 sentences in your notes. This feels slow, but it saves you from memorizing a diagram you do not actually understand.
Pass 2: Build a model you can redraw
Memorization gets easier when you can generate the diagram. Your target is a simplified redraw from memory that still preserves the logic.
- Reduce it to 3 to 7 chunks. Human memory loves chunks. More than 7 is usually too many at first.
- Name each chunk. Not the textbook label. Your words, short and sticky.
- Define one job per chunk. What does it do in the system?
- Define how chunks connect. Arrows, boundaries, flow, dependencies.
Pass 3: Test yourself actively
Close the book and do at least one of these:
- Blank-page redraw: recreate the diagram from memory in 2 minutes.
- Label recall: draw the skeleton, then add labels without looking.
- Teach it out loud: explain the diagram like you are tutoring a friend.
- One-change prediction: imagine one variable changes. What shifts in the diagram?
If you want more general study mechanics for making recall stick, my go-to strategy is explained on the site in Study Tips.
Chunking techniques that actually work
1) Boundary chunking
Draw boxes or boundaries around regions that behave as a unit.
- Anatomy: “thoracic cavity” versus “abdominal cavity” before you memorize organs.
- Circuits: input stage, filter stage, amplifier stage.
- Math figures: split a complicated shape into triangles and rectangles.
2) Path chunking
When the diagram shows movement or sequence, chunk by path.
- Biochemistry: break a pathway into “entry,” “rate-limiting,” “exit.”
- Physics: break a process into time steps, then annotate what forces are present in each step.
3) Feature chunking
When the diagram is dense with labels, chunk by feature type:
- Shape features: borders, layers, lobes, compartments.
- Connection features: arteries, nerves, edges, arrows.
- Function features: what secretes what, what transforms what, what depends on what.

Turn one diagram into 10 flashcards (without making them ugly)
You do not need a separate flashcard for every label. Instead, create “views” of the same diagram.
A simple card set
- Card 1: The blank skeleton. Prompt: “Redraw the main structure.”
- Card 2 to 4: One chunk at a time. Prompt: “Add and explain chunk A.”
- Card 5 to 7: Labels by category. Prompt: “Label all vessels” or “label all variables and units.”
- Card 8: Common confusions. Prompt: “What are the three things I mix up here?”
- Card 9: One-change prediction. Prompt: “If X increases, what happens to Y on the graph?”
- Card 10: Real-world use. Prompt: “Where would I apply this diagram in a problem?”
Keep the prompts short. Make the answer require you to produce something, even if it is only a quick sketch.
How to study different diagram types
Graphs (math, physics, chemistry, economics)
- Start with the story: What is being measured, and why does the curve look like that?
- Lock the axes: variable name, units, direction, and scale are non-negotiable.
- Memorize “landmarks,” not the whole curve: intercepts, asymptotes, maxima, minima, inflection points.
- Practice translations: write the equation or relationship that could generate the graph.
Anatomy plates and cross-sections
- Work from big to small: region, organ, sub-structures.
- Use orientation words every time: anterior, posterior, medial, lateral, superior, inferior.
- Convert labels into functions: “This is here, and it does this.”
- Cover-label drill: hide labels with paper or your hand, then recall out loud.
If you are using open anatomy resources, you might also like the way we organize options on Anatomy and Physiology Textbook.
Reaction mechanisms and pathways
- Chunk by repeats: the same transformation pattern shows up everywhere. Name it.
- Identify constraints: what conditions make step 3 possible?
- Use “why arrows,” not just arrows: write one reason for each arrow direction in your notes.
- Practice forward and backward: go from reactants to products and then products back to reactants.
Free body diagrams and multi-step physics visuals
- Redraw the object alone first. Then add forces.
- Forces get verbs: “gravity pulls,” “normal pushes,” “tension pulls along the rope.”
- Check completeness: If a force exists, where is its partner or constraint?
- Translate to equations: every arrow must map to a term in your setup.
For physics learners assembling free resources, I keep a running shelf at Physics Textbook Online.
The “cover, redraw, compare, correct” loop
This is my highest-return drill for visual material. It is simple, fast, and unforgiving in a good way.
- Cover the diagram completely.
- Redraw it from memory in a fixed time window (60 to 180 seconds).
- Compare your redraw to the original and circle mismatches.
- Correct by rewriting the diagram rule that you violated.
That last part matters. Do not just fix the drawing. Fix the rule. Example: “The ulnar nerve runs posterior to the medial epicondyle.” Or “A steeper slope means a larger rate.” Rules compress detail into something your brain can keep.
Memory tools that pair well with diagrams
Dual coding, but with discipline
Dual coding works when words and visuals reinforce each other. It fails when you copy paragraphs next to a picture. Try this instead:
- One diagram chunk.
- One sentence: “What it is.”
- One sentence: “What it does.”
- One question you can test yourself on later.
Spaced repetition for visuals
Visual memory fades unless you revisit it. A simple schedule is enough:
- Day 0: learn and test the diagram.
- Day 1: 2-minute redraw.
- Day 3: redraw plus labels.
- Day 7: apply it in 2 practice problems.
- Day 14: teach it out loud in 3 minutes.
Interleaving to prevent “familiarity traps”
Instead of repeating the same diagram five times, mix it with a similar one. Your brain learns the differences faster.
- Two similar nerve pathways.
- Two graph types that students confuse.
- Two circuit topologies with small changes.
Common mistakes (and how to fix them)
Mistake 1: Trying to memorize labels before structure
Fix: learn the skeleton first, then hang labels on it like ornaments on a tree.
Mistake 2: Copying the diagram over and over
Fix: do one careful copy only if you need orientation, then switch to closed-book redraws.
Mistake 3: Treating colors and formatting as “the content”
Fix: translate colors into plain rules. Example: “Blue lines indicate veins.” If your test is black-and-white, your memory should not depend on color.
Mistake 4: Studying diagrams without solving problems
Fix: every diagram session ends with application: one interpretation question, one calculation, or one prediction.
A 20-minute routine you can repeat all semester
- 2 minutes: skim the diagram and write its purpose in your own words.
- 6 minutes: chunk it into 3 to 7 parts and name each chunk.
- 6 minutes: cover and redraw, then compare and correct rules.
- 4 minutes: turn it into 3 quick self-test prompts (skeleton, labels, one-change prediction).
- 2 minutes: do one practice question that uses it.
Done consistently, this beats marathon rereading. It also works whether your textbook is a traditional paid text or something open. If you are building a low-cost learning plan, the roadmap on Build a Self-Taught Curriculum With Free Open Textbooks pairs nicely with the study system above.
Quick FAQ
What if the diagram is too complicated to redraw?
Redraw a simplified version that preserves the logic. If you cannot simplify, you probably have not identified the chunks yet. Start by drawing only boundaries and arrows, then add parts.
Should I memorize exact placement?
Only when placement is the concept, like anatomy orientation or geometry. Otherwise, prioritize relationships over pixel-perfect layout.
How do I know I truly learned the diagram?
You can explain it without looking, redraw the core from memory, and answer a new question that uses it. Recognition is not mastery. Generation is mastery.